Showing posts with label Big Shot. Show all posts

Sunday, October 15, 2017

SpellBinders Curved Border Dies

Hello again. I am waiting for my banana bread to finish baking and since I am stuck on this level of the house and am definitely not in the mood to vacuum, I thought I would do up another post. I recently stole (borrowed) Zoo's two sets of border die's from SpellBinders (Curved Borders One and Two - each with 6 dies) and fell in love with them. Oodles of fun playing with these dies and I can see making waaaaay too many cards with them.


I have done two sets of cards so far. Each time I sat down to play with them I chose a couple of colours of 8 1/2"x11"paper, cut them half then started cutting different borders from each end of the paper. In this way I ended up with an abundant amount of die cut pieces to mount on to a card. I mounted all the pieces onto the card bases and then decorated them at this point. Probably a backward way of doing things but that was how my brain was working at the time.

When it was time to decorate them I found it hard to cover them up, so only used bows (made with the aid of this awesome video https://www.youtube.com/watch?v=gw6vUApUCrk&list=LLrPw3KR7TMCTKUPVvRy-_3g&index=70&t=969s), Dollarama bling, small die cut shapes and a couple of butterflies from a page Zoo gave me that she coloured and didn't know what to do with (She colours beautiful things and then they sit in her craft room where no one can see them. Such a crime. Thanks, Zoo, for letting me show these off !). Upon previewing the post I discovered that the two cards I made with the butterflies are not in the picture file. I gave them away before I took pictures. Typical me. I know Zoo has one so she may add a picture when she gets a chance.


Anyway... enough of me babbling. Here are the cards I have made so far.


The possibilities with these die sets are endless. I look forward to playing with them again in the future. I know Zoo will want them back when she sees the pretty cards but they have such a long distance to travel back out west that they may have to rest up at my house for a few more weeks : )

Saturday, October 14, 2017

Embossing Powder on mailing labels

Hello. Long time no see. I have been making cards like crazy these past few weeks. I have lifted Zoo's ban on making cards while she is indisposed. Life has done a serious number on her and her family and during this tragic time I am trying to be creative while being distracted at the same time. So cards have been pouring out.

In keeping with my theme of using up old stuff and things I haven't used, I dug out some things I had made with stickers and embossing powder. Zoo had sent a YouTube video about it and one day last year I decided to give it a go. I must say it was fun but I had only used one of them for my great niece's birthday card (no picture, sorry). So I decided to do up some cards with the rest of the embossed stickers.

Embossing powder and mailing labels video:
https://www.youtube.com/watch?v=Nl7W8VmOIwI&list=LLrPw3KR7TMCTKUPVvRy-_3g&index=42

The premise of the video is to place stickers and things onto the sticky side of a mailing label and then pour embossing powder over the remainder of the sticky space, heat it and then use the decorated label in a card. I used kids letter stickers, cork letter stickers, flower stickers, self adhesive bling designs, old corner stickers and on some I only used the embossing powder on the whole sticky label. The labels I used were from a roll of large mailing labels that I cut in half. Each cut one is about 3" x  2 1/2".

These are some of the finished labels...


The finished cards turned out sweet. I will list the names of the embossing powders used but most of the stickers I have had in my box for ever, so I don't know where I bought them or what brands they are. A lot of the letter ones came from Dollarama. I also used some washi tapes, that was on my list of things to try out.

Stampin Up - Iridescent Ice Powder


Masterpiece Stamping (all of these brands I purchased over 20 years ago) - White       {The embossed background is a botched piece that Zoo and I were experimenting with. We were trying to use embossing powders with embossing folders and it was not working. As I never throw anything out... years later I found a pretty way of using up the mistake, yay!}


Stampin Up - Pewter

Personal Stamp Exchange -Topiary Tapestry     (the little corner stickers used in this piece came from a Dollarama kiddie scrapbook. The stickers would have had to have been glued on, as they were not very sticky but placing them on a sticker worked like a charm. I like the mosaic tile look when done)


Stampin Up - Pewter    (Just a note to say the self adhesive bling stars and things started to melt when I heat embossed the powder. I managed to flatten them out for the most part but thought I should warn you)


Masterpiece Stamping - black


Personal  Stamp Exchange - Claret Tapestry and Bridal, Stampin up - Iridescent Ice


Stampin up - Iridescent Ice, Masterpiece Stamping - Black, Stampin Up - Pewter


Stampin up - Iridescent Ice, Stampin Up - Pewter, Masterpiece Stamping - Gold


Personal Stamp Exchange's - Claret Tapestry, Topiary Tapestry and Cobalt Tapestry


Stampin Up - Pewter, Masterpiece Stamping - Gold, Personal Stamp Exchange - Copper


Personal Stamp Exchange's - Topiary Tapestry and Cobalt Tapestry, and Copper

Well I hope you have enjoyed this post. I will try and get a few more done. It is a nice way to wrap up the end of a card making session and will archive some of the different things I have been working on. I will work on my computer avoidance tendency in order to accomplish this feat : )


Sunday, October 30, 2016

Using strips of scrap paper

Hello, yet again. I am never on the computer to work and then three blog posts in two days. Zoo will fall off her chair! It is a very grey weekend here and my life is in a weird holding pattern and for some reason doing these posts is a nice break, so here goes another one.

Zoo sent me a link to use up some paper scraps, knowing that I don’t throw anything away and was running out of room in my scrap paper box.
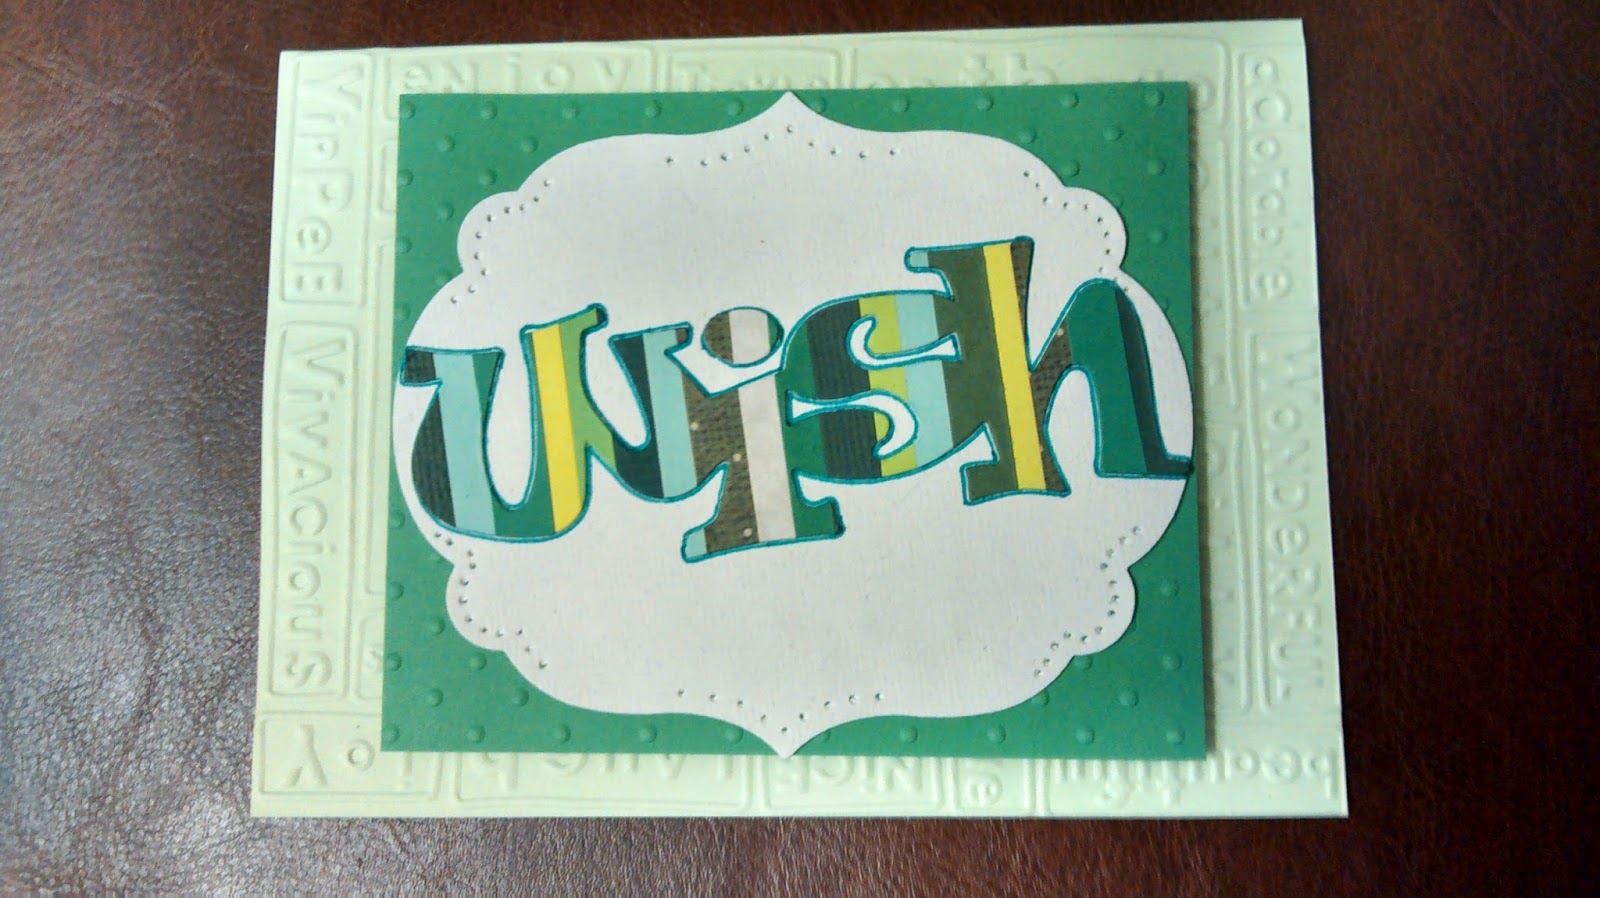
The link was      https://www.youtube.com/watch?v=qv2EL8jZhZ8    and showed how to glue/tape thin scraps of paper onto printer paper and then die cutting out an image or saying to make cards. My scrap paper box was full, so I gave it a try.


I first used up just a few pieces of paper out of my pink scrap box and here is the result. I didn’t measure the width of the strips I cut, but just winged it with my cutter. I liked the slight variances in the widths of the strips. I don’t have a huge selection of dies that cut out sayings and shapes that are not for tags, so I chose my Fredward Bear Die Cut  - by Memory Box Inc.


 It was a little blah with just the bear cut out, so dug out my punch-anywhere flower punch by EK Success Brands and punched out the background. I saved the little flowers, etc., that came from the punch in case I wanted to use them. Much better!!


The two finished cards turned out so cute that I spent an hour or two cutting strips out of more scrap paper and making more blanks to use. Believe me though… a little paper goes a long way! 

 I had an idea to use different edging patterns to cut out waves, etc., from the striped paper. It produced a neat effect without too much difficulty. By tracing the pattern onto the back of the striped paper, it was just a matter of cutting along the lines and placing them in order to be glued onto a plain coloured background paper. I chose black card stock as my background to show off the stripes. I then used my Big Shot to cut out shapes. Like usual, the negative part cut out can be used on the inside of the card or for another card.


I also free-handed a dinosaur to cut out.

This was a fun use of scrap paper. I have started saving thin strips of scrap paper in an envelope to make it easier next time.

Take care! Red Bear : )

Sunday, November 09, 2014

Cut a semi-circle in the middle of a piece of cardstock using a full circle die.

This YouTube video first shows how to use an embossing folder to emboss just an edge of a piece of cardstock.

Next, she shows one method of cutting a semi-circle in the center of a piece of cardstock using a full circle die.

This could easily be made into a semi-circle "window" by using a straight edge to slice out the bottom of the semi-circle.

Or, to create a place card that has a shape extending above the folded edge.  To do that, you would just have to fold the cardstock along the line that would create the semi-circle above.

Using the same full circle die on a different piece of cardstock, you could then give the illusion that the circle is separate from and extending from the top of, your folded place card.

I'll have to do some of these in the future and take some pictures.

Zoo

Monday, August 25, 2014

Cards -- Summer Dresses

MCB learned how to make a summer dress out of a circle.  We used my scalloped circle die-cut.

The exact nestabilities dies are labeled on the cardboard templates.

Summer Dresses - right click, open in a new tab/window to see full size


Purses are made from scraps, I hand lettered the sentiment, doily for the lace under-petticoat-thingy!  This time the card bases were purchased at a craft store, SGD online.